Getting started
Getting started
Point Texpile at the folder your .tex files are in, and it scans for them.
- Start screen
- Open Folder…
- Menu
- File › Open folder Once you are already in a folder.
- In the editor
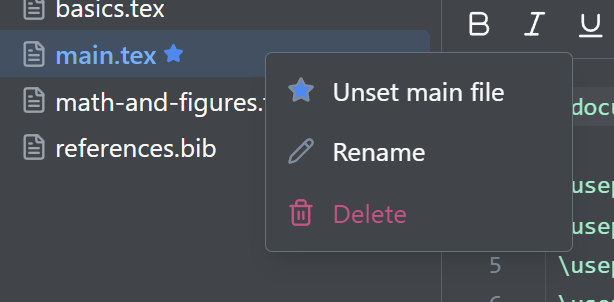
- Right-click a file › Set as main file In the file explorer.
- Setting
- Preferences › Autosave Preferences opens from the start screen, and from File › Preferences… once a folder is open.
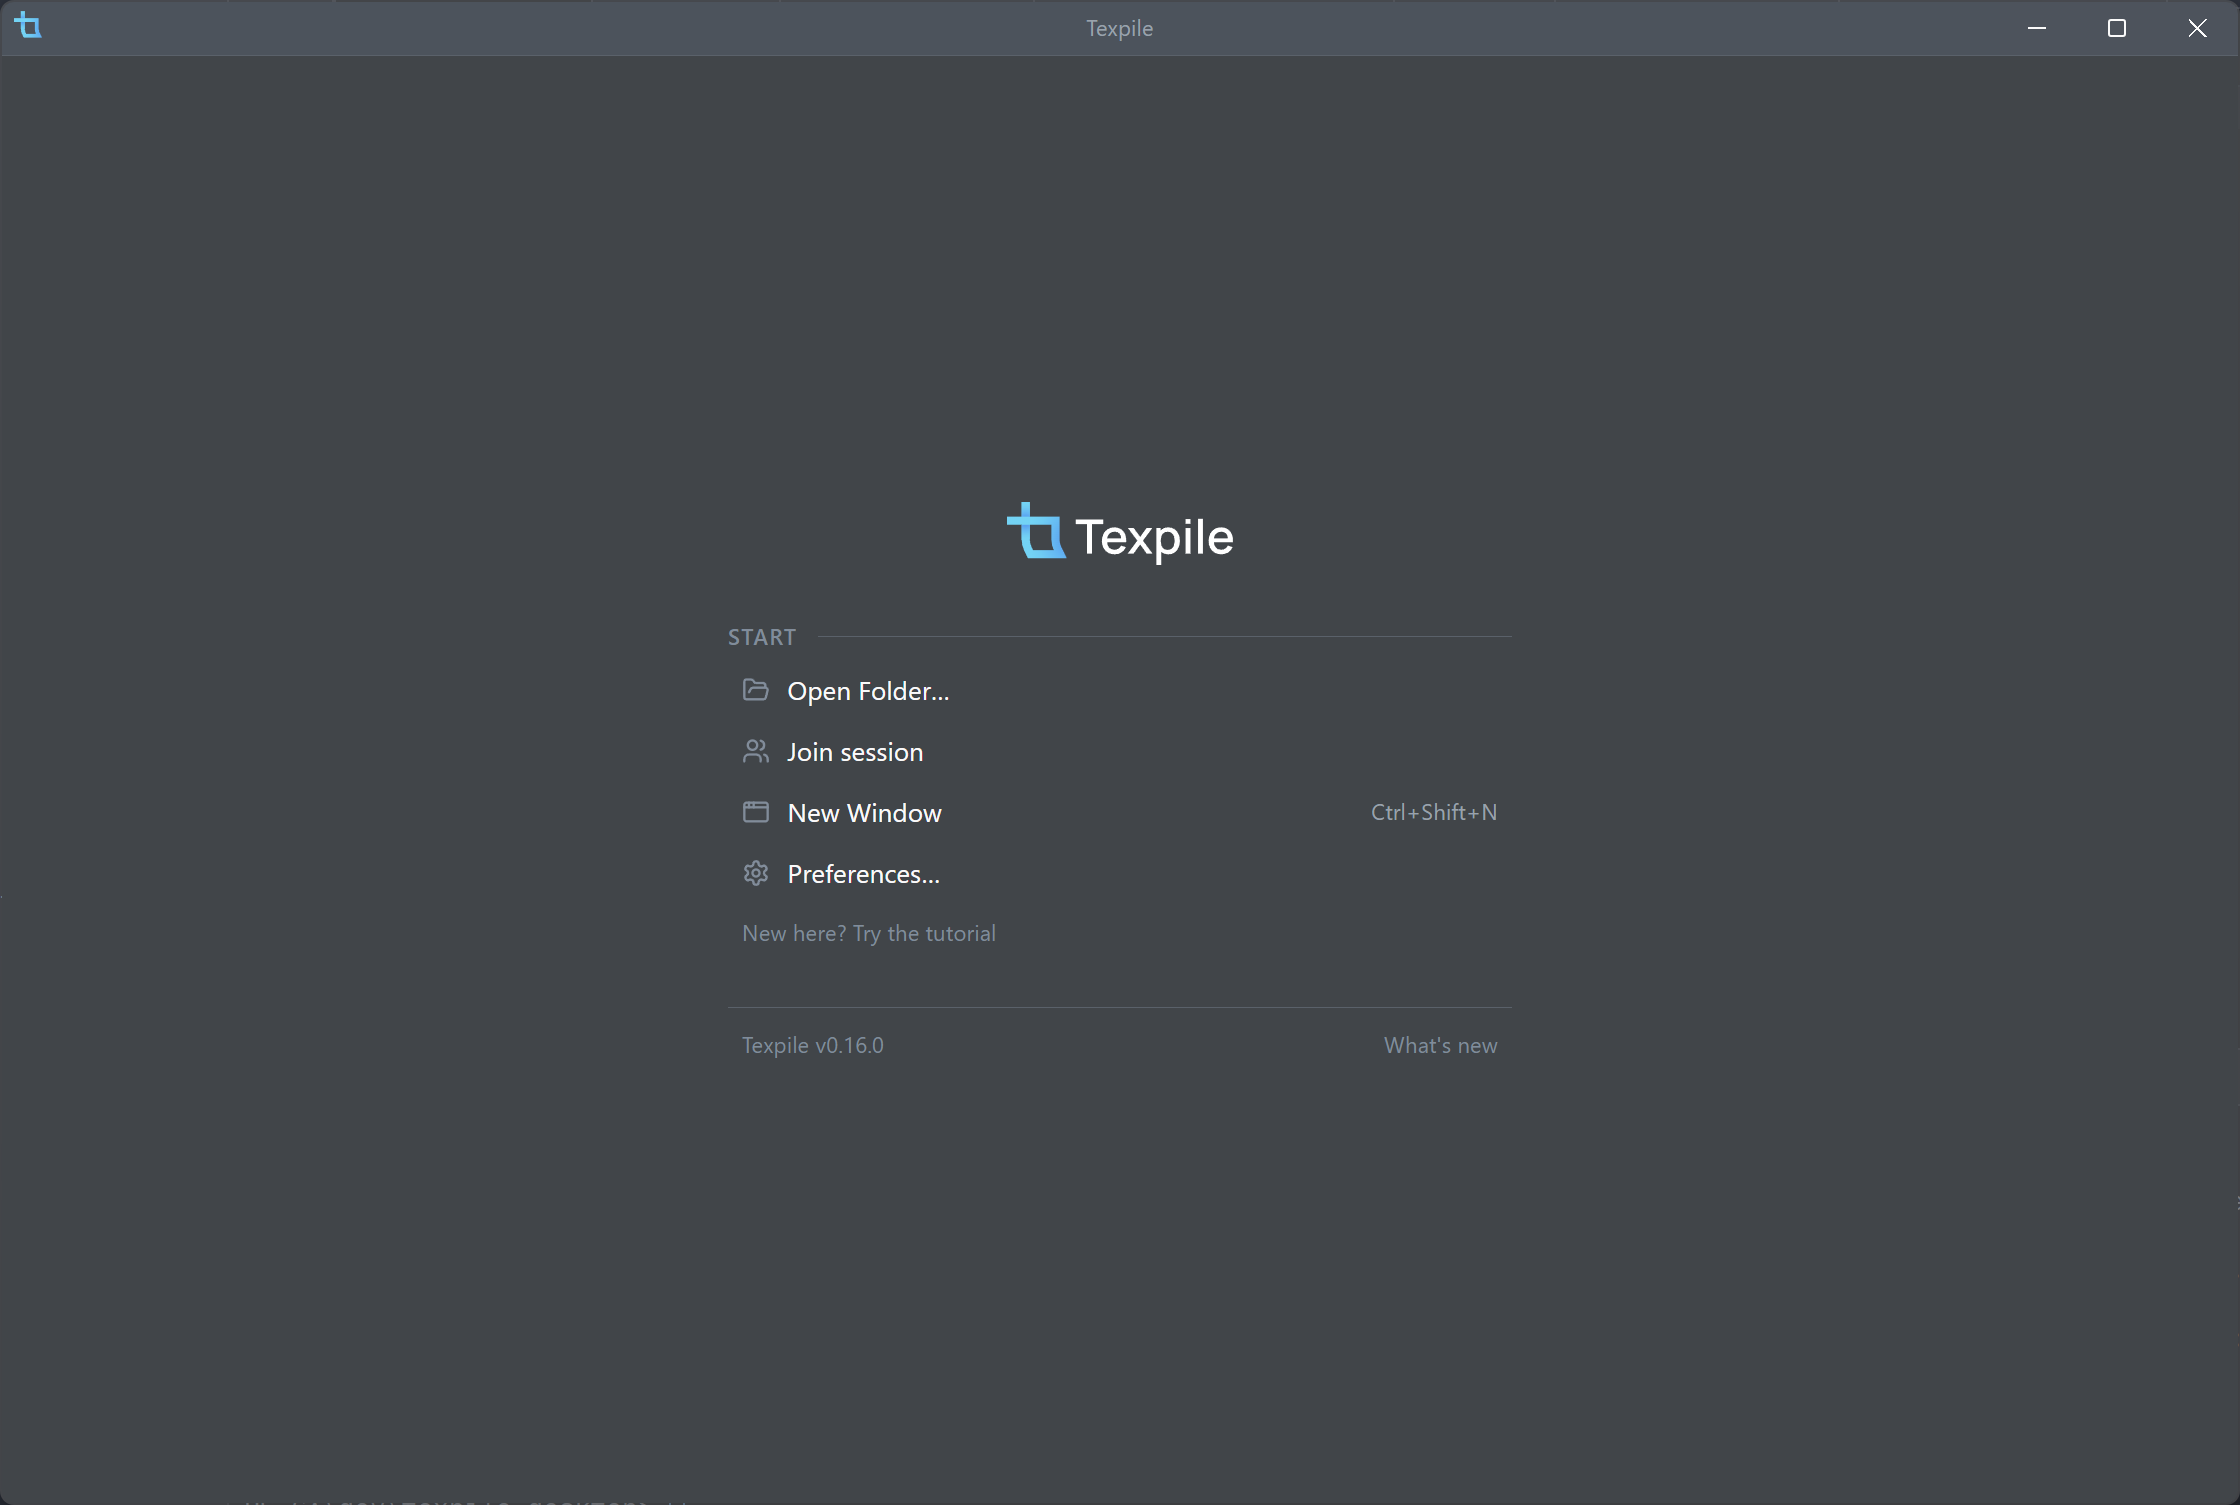
Open a folder
There is no import step and no project format. Choose Open Folder… on the start screen and the file explorer fills with the .tex, .bib, and image files it finds. Folders you have opened before are listed under Recent, and your last folder reopens the next time you launch, on the file you left open.
New to Texpile? The start screen has a "New here? Try the tutorial" link that builds a small worked example in a folder you pick, so you have something to edit.
Opening a single file
A .tex, .typ, or .bib file can also be opened on its own: double-click it in your file manager, or open it with Texpile. The window then shows that file and nothing else. There is no file explorer, no preview pane, and no compile, since those need a folder. An Open in workspace button in the top right opens the file's folder as a project, with the file still selected.
The main file
A multi-file paper has one main .tex holding the preamble and \begin{document}. Texpile picks it automatically. Right-click any file in the explorer to set it yourself. The main file is marked with a star and remembered per folder.
Two views of one file
Every file opens in either the visual editor or the source editor. Switching between them keeps your scroll position, cursor, and undo history.
Autosave
Autosave is on by default. Turn it off in Preferences and Texpile saves only when you press Ctrl+S, and warns you before you switch files.
Autosave stays on while live preview or a shared session is running.
Producing a PDF
Press Preview (or Compile, in source mode) and Texpile runs a default command for you: latexmk with lualatex. This needs a TeX distribution installed on your computer.
Interface language
Menus, dialogs, and messages come in English, Simplified Chinese (简体中文), Traditional Chinese (繁體中文), German (Deutsch), and Brazilian Portuguese (Português do Brasil). English is the default. Pick another under Preferences › Appearance › Language and the window reloads in it.
This is the language of the interface, not of your document. A LaTeX or Typst document can be written in any language; spell check currently covers English only.