Tables
Creating tables in standard LaTeX can be tedious. Texpile simplifies this with a visual interface that handles the code for you.
Inserting a Table
There are two ways to insert a table:
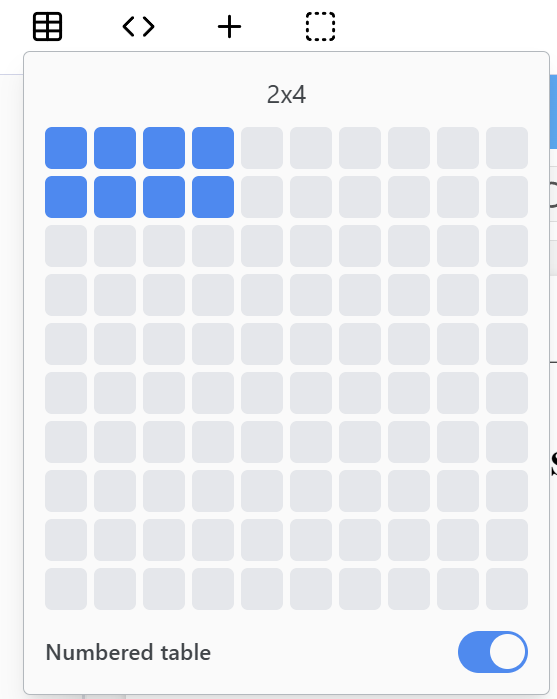
Toolbar Button: Click the table icon in the toolbar. This allows you to quickly insert tables up to 10x10.
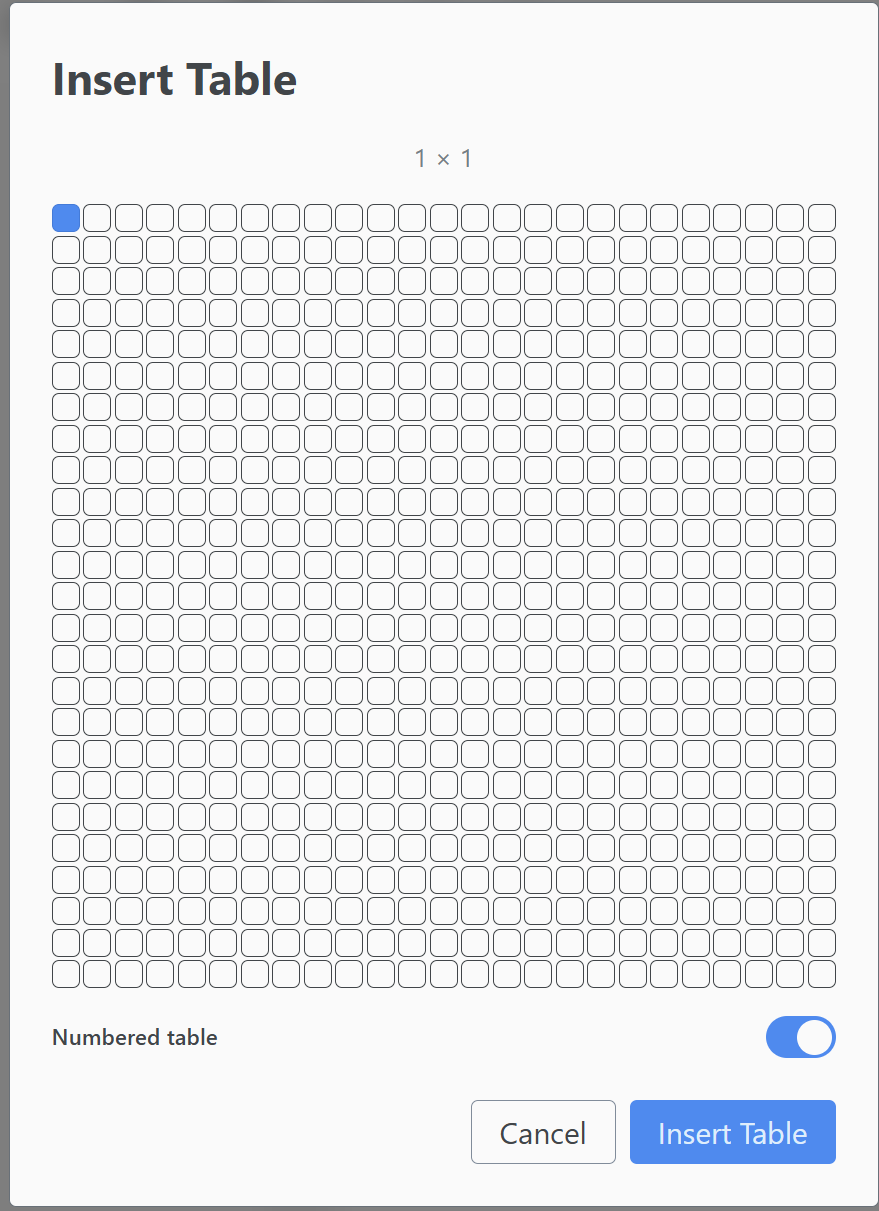
Insert Menu: Go to Insert > Tables…. This option is perfect for larger tables (up to 20x20) or more specific requirements.
Numbered vs. Unnumbered Tables
By default, Texpile creates Numbered Tables. This means Texpile will automatically label them in order (e.g., Table 1, Table 2) and add them to the list of tables.
Unnumbered Table
If you don’t need referencing or a list of tables, you can toggle “Numbered” off. 
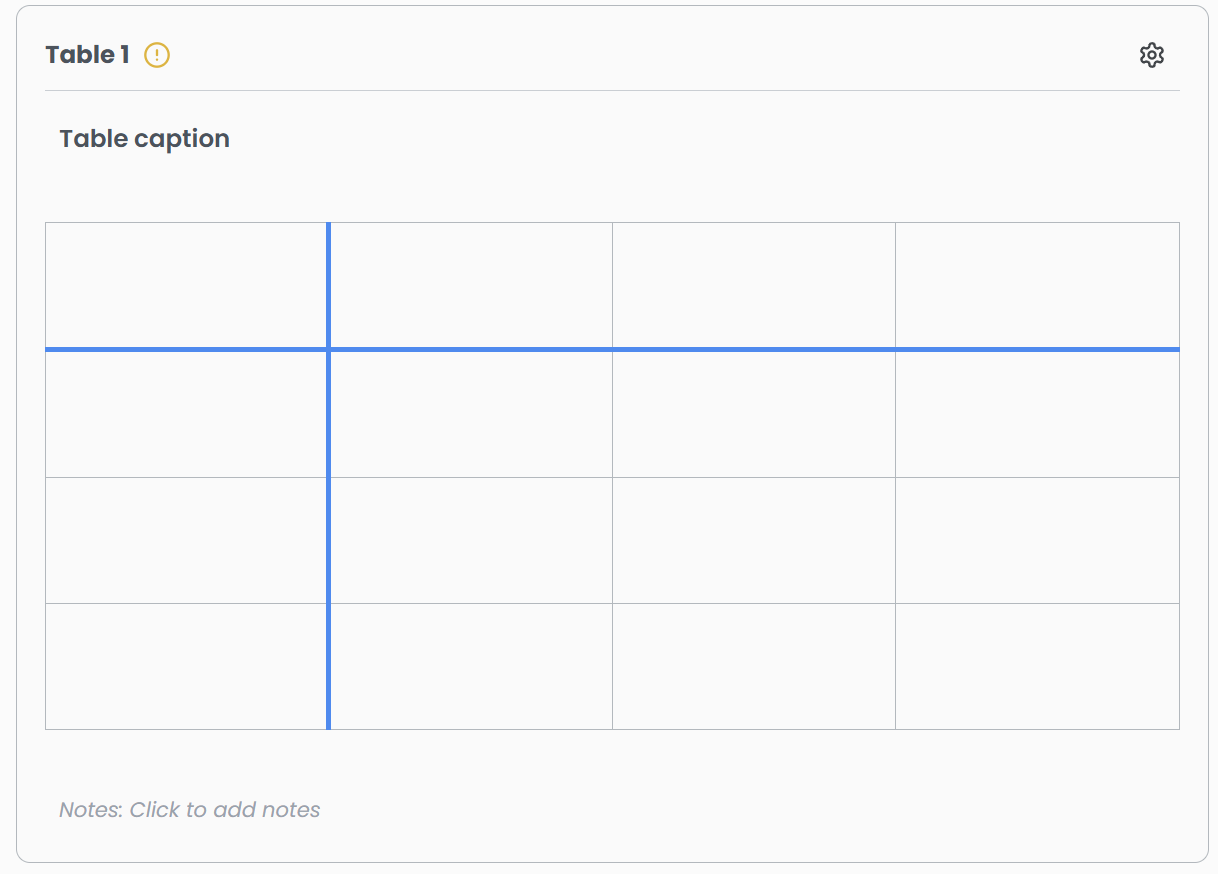
Numbered Table
A numbered table offers more features:
- Captions: A descriptive title for the table.
- Notes: A section to add explanatory notes or source information below the table.
- Headers: Options to distinctively style the first row or column.
Merging Cells
You can merge multiple cells into one. Select the cells you want to merge, then right-click to open the context menu and choose Merge Cells. This is useful for creating spanning headers or combining related data.
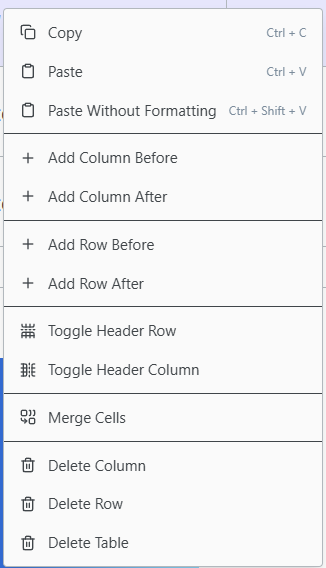
Table Settings
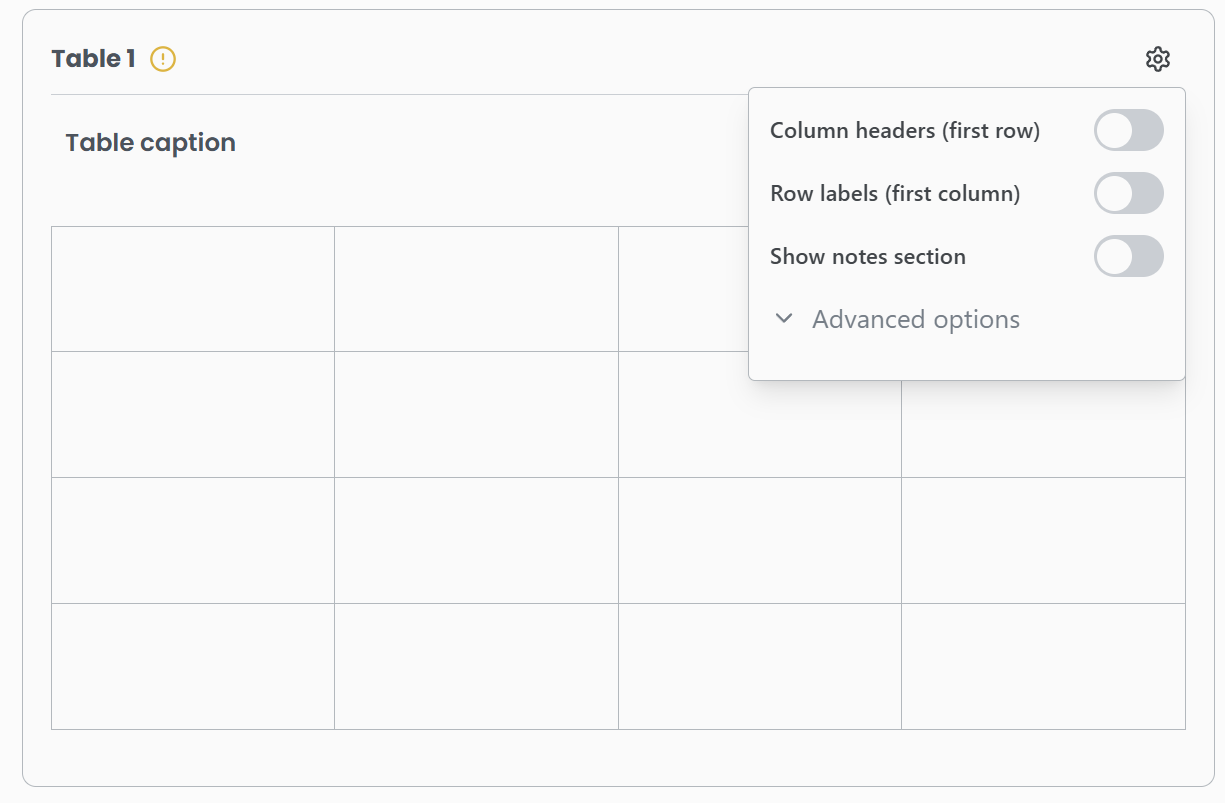
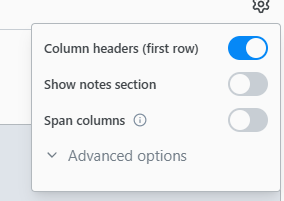
Hover over any table to reveal the Settings icon in the top-right corner.
From here, you can control:
- Numbered: Toggle numbering on/off.
- Caption: Add or edit the table caption.
- Notes: Add extended descriptions.
- Headers: Toggle Header Row or Header Column to emphasize the labels.
- Span Column: On supported templates (e.g., IEEE Conference), the settings will show a Span Column option that allows your table to stretch across multiple columns of the document layout.
Note on Formatting: The visual appearance of your table (borders, spacing, fonts) is controlled by your project’s Template. For example, an APA template might remove vertical lines, while a Lab Report template might keep them. Texpile ensures your tables always match the required style.