Working with Images
Figures are essential for scientific documents. Texpile simplifies figure management with drag-and-drop support and automatic caption handling.
Adding an Image
There are three ways to add an image to your document:
- Drag and Drop: Simply drag an image file from your computer and drop it onto the editor.
- Paste: Paste an image directly from your clipboard into the editor.
- Upload Button: Go to Insert > Image in the toolbar.
Resizing and Alignment
Once an image is selected, you have several control options:

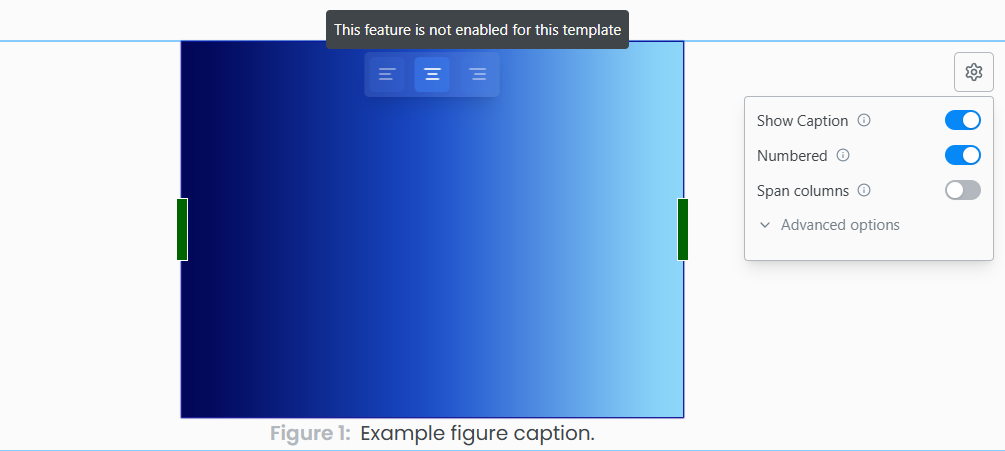
- Resize: Hover over the image to reveal the resize handles. Click and drag the green bar on the right or bottom to resize the image.
- Alignment: Use the floating toolbar buttons to set how the image flows with the text (Inline, Break Text, etc.).
Note: On double-column templates (e.g., IEEE Conference), images can only be center aligned — left and right alignment are not available.
Column Spanning Images
On supported templates like IEEE Conference and other double-column layouts, the image settings will show a Span Column option. This allows your image to stretch across both columns of the page, which is useful for wide figures, charts, or diagrams that need more horizontal space.
Captions and numbering
When you hover over an image, a Settings icon appears in the top-right corner. Click it to configure the figure environment.
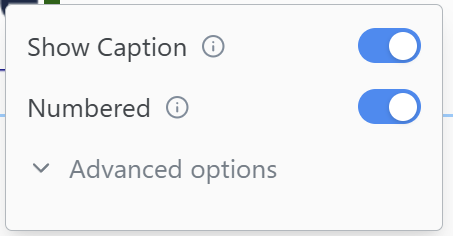
From this menu, you can:
- Toggle Numbering: Enable this to automatically number your figure (e.g., “Figure 1”).
- Add Caption: Add a descriptive caption that will appear below the image.
Tip: If an image is numbered, you can reference it anywhere in your text by typing
@followed by the label.
Advanced
For more control, click Advanced in the settings menu. Here you can manually edit the LaTeX \label used for referencing (e.g., change fig:image1 to fig:results-graph).